Creating a Location
Creating a Location
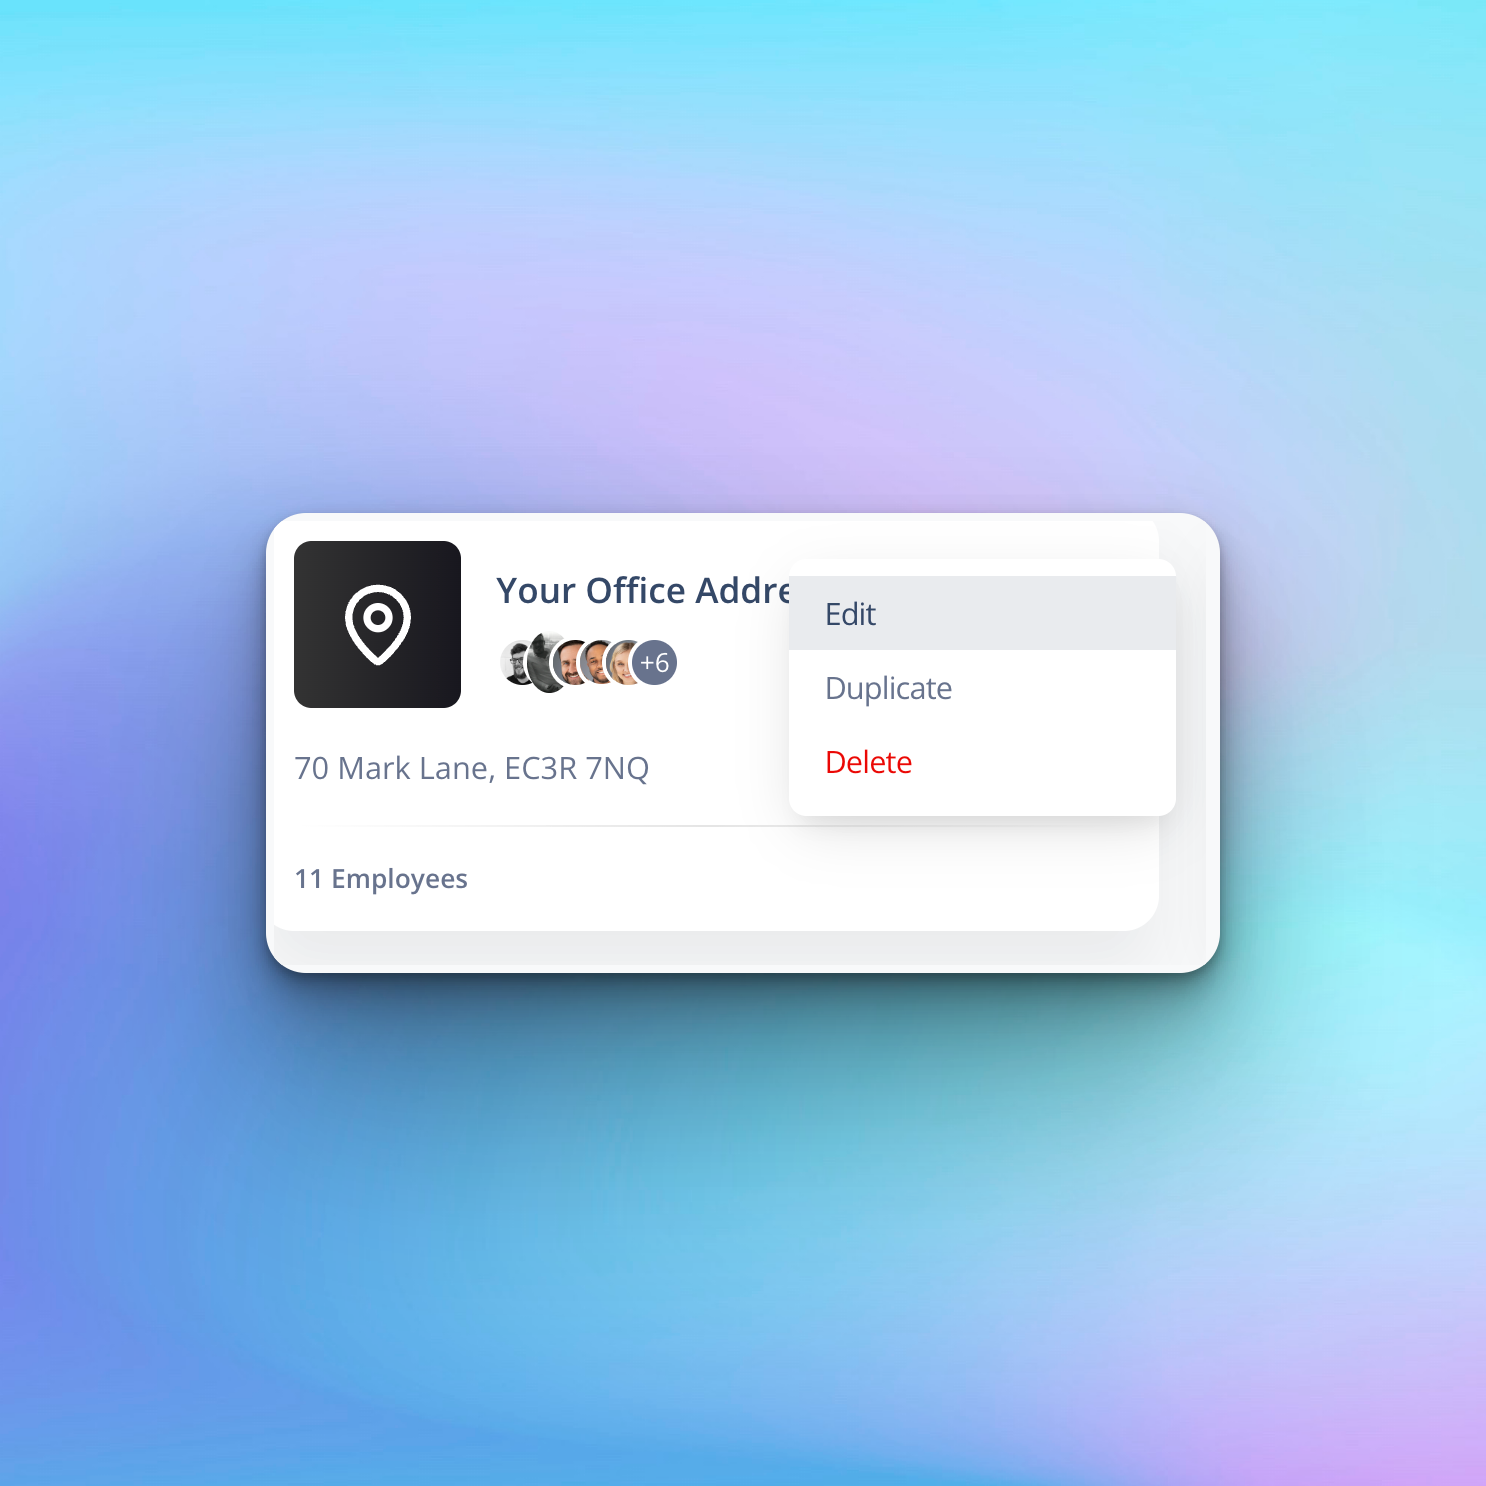
Locations are used to manage office or site addresses and company-wide details.
By assigning employees to a location and combining:
- Company details (managed at the location level)
- Employee details (managed in the Employees section)
…the system has all the information required to correctly populate a business card.
How to Create a Location
- Log in to your Kinect Card Portal
- Navigate to Assets
- Click Locations
- Click Create New Location
This will launch the Location Creation Wizard.
Step 1: Add Your Address
Use the built-in address lookup tool to find your office or site address.
This tool integrates with Google Maps and works globally.
- Start typing your address
- Select the correct address from the dropdown list
- The portal will automatically populate the address fields
Next, enter an internal reference name for the location.
Tip:
This name will not appear on business cards.
It is for internal reference only and helps you identify locations within the system.
Once complete, click Next.
Step 2: Add Contact Details
Contact details at the location level manage general company contact information, such as your website, landline number, and general email address.
Step 2.1 – General Contact Email
Enter your general contact email address, for example:
hello@yourbusiness.com
Step 2.2 – Phone Number
Add the main contact number for this office or site.
For international locations, ensure the correct country code is selected for that location.
Step 2.3 – Website Address
Enter the website associated with this office or location.
If your business uses different websites for different international regions, ensure the correct website is added for each location.
Step 2.4 – Company Bio
Add a short company bio describing your business and services.
This is a great opportunity to explain what you do to people viewing your digital business card.
Tip:
Keep your company bio concise for maximum impact.
Once complete, click Next to continue.
Step 3: Add Social Media Links
You can add company-wide social media links at the location level.
All social media fields are pre-populated with the platform domain — you only need to enter your profile slug or username.
Example – LinkedIn
If your LinkedIn company page URL is:
https://www.linkedin.com/company/kinect-card
You only need to enter:
company/kinect-card
Tip:
Social media icons will only display on business cards if a link is provided.
Once you’ve added your social media links, click Next.
Step 4: Review & Save
Review all location details to ensure everything is correct.
If you’re happy with the information, click Save on the Review & Approve page.
Your location will now be saved and ready to be assigned to team members.
💡 Great for
Teams with multiple sites & global teams
Locations is a central directory of all office locations you may have within your organisation. Most of our users have one office or site. For larger organsiations where you may have multiple office addresses, you can create multiple locations and assign them to the relevant team members.
Still need help?
Get Support
Send our team a message and we will respond within 1 business day. Our opening hours are Monday to Friday 9am - 5pm GMT. For out of hours support, please chat with our AI agent on our web chat facility.