Creating an employee
Creating an Employee
Before creating an employee, make sure you have:
- Created your assets (brands, locations, themes, links, lead forms)
- Created your teams
- Assigned assets to each team
Once this is done, you’re ready to create an employee.
How to Create an Employee
- Log in to your Kinect Card portal.
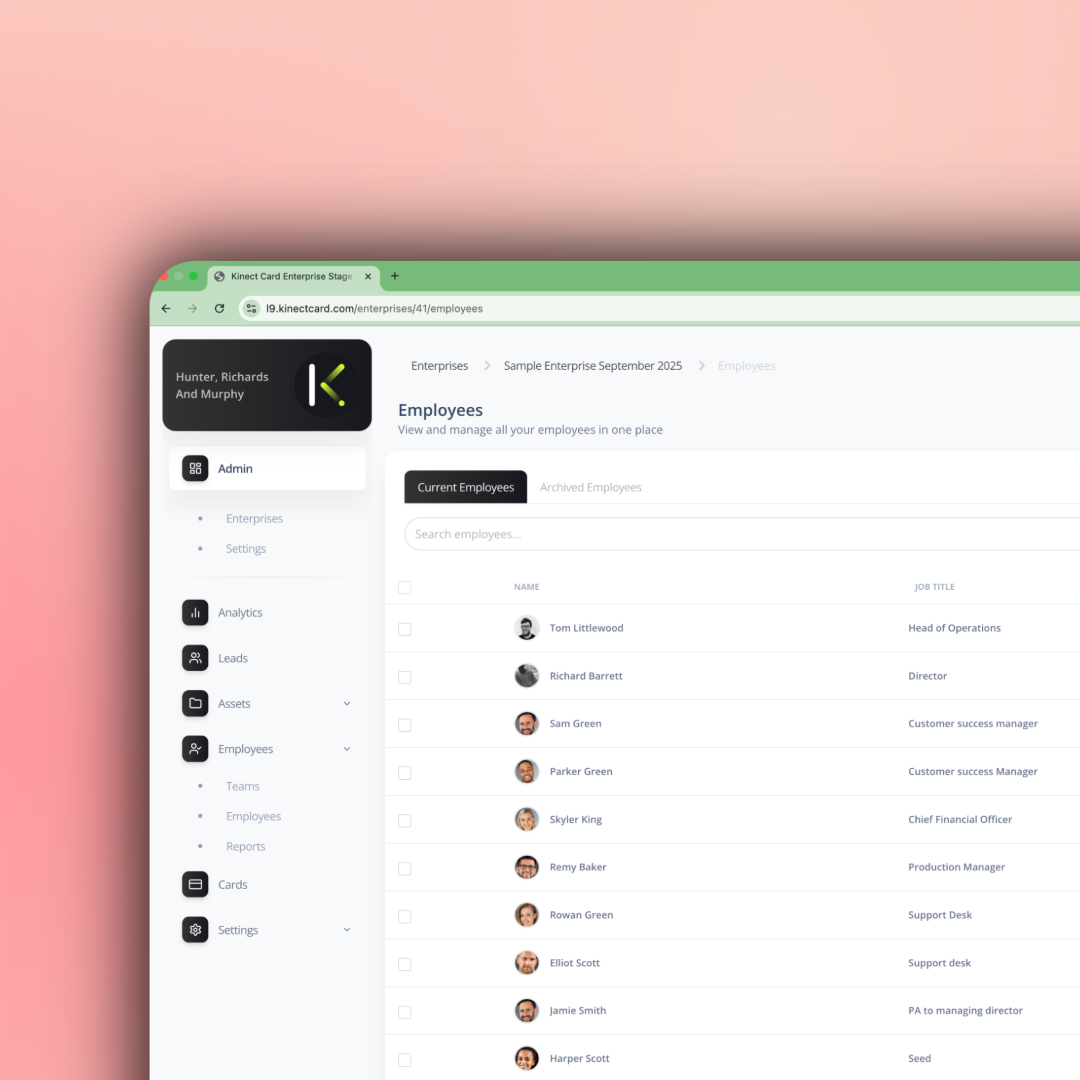
- Go to Employees.
- Click Create New Employee.
This will open the Employee Setup Wizard, a simple step-by-step guide.
Step 1: Employee Details
Enter details that are unique to the employee:
- Full name
- Job title
- Email address
- LinkedIn handle
- Mobile phone number
(Includes optional country dial codes for international formatting) - Direct dial number
(Also supports country dial codes)
Upload a Profile Photo
Recommended format:
- Size: 1000px × 1000px
- Max file size: 10MB
- File type: JPG or PNG
Once complete, click Next.
Step 2: Assign a Team
Use the dropdown to select a team for the employee.
This will automatically assign:
- Brand
- Location
- Theme
- Links
- Lead forms (based on your plan)
Once selected, click Next.
Step 3: Custom Link (Pro users only)
Pro users can add a custom link unique to this employee.
💡 Tip:
Custom links are ideal for meeting bookings, such as:
- Calendly
- HubSpot Meetings
- Google Meet
After adding the link, click Next.
Step 4: Review & Save
Review:
- Employee details
- Assigned team and assets
If everything looks correct, click Save.
What’s Next?
Your employee is now created and ready to be assigned to a physical NFC business card.
💡 Managing a larger team?
Use the CSV upload to bulk upload all employee data
You can quickly create multiple employee profiles using our CSV upload template. Profile photos aren’t included in the upload, but you can easily add them to each employee profile afterwards.
Still need help?
Get Support
Send our team a message and we will respond within 1 business day. Our opening hours are Monday to Friday 9am - 5pm GMT. For out of hours support, please chat with our AI agent on our web chat facility.